Filing your nails may seem like a simple task, but doing it incorrectly can cause more harm than good. Even the most luxurious emery board won’t save your manicure if your technique is off. Aggressive sawing, using the wrong grit, or over-filing can leave nails frayed, uneven, or weak—and undo all your careful grooming.
The good news: you don’t need professional training to get salon-level results at home. According to top manicurists, filing your nails properly is all about gentle technique, the right tools, and knowing when to stop. Whether you love almond, square, squoval, or stiletto nails, a little finesse goes a long way.
Ahead, expert nail artists break down the correct way to file your nails, step by step.
How to File Your Nails Properly
1. Trim Excess Length First
Before reaching for a nail file, clip your nails to your desired length. New York City–based nail artist Julie Kandalec recommends using straight nail clippers to create a clean, even edge. Rounded clippers can unintentionally curve the nail, making shaping more difficult later.
Placement matters, too. Celebrity manicurist Betina Goldstein advises never starting in the middle of the nail. Instead, clip from one side and work across to prevent splitting and stress fractures.
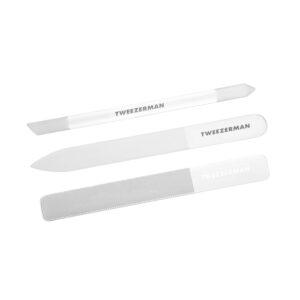
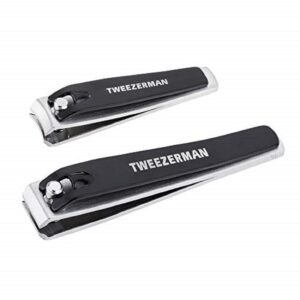 Tweezerman Stainless Steel Nail Set Amazon $12
2. Choose the Correct Nail File Grit
Not all nail files are created equal. Nail file grit typically ranges from 100 to 600, with lower numbers being coarser and higher numbers finer.
“It’s critical to use the right grit,” says New York City nail artist Miss Pop. “The wrong grit won’t fix the issue—it’ll create a new one.”
-
100–180 grit: Best for acrylics or extensions
-
180–240 grit: Ideal for shaping natural nails
-
400–600 grit: Used for refining and smoothing
For at-home manicures, avoid extremely coarse files. A double-sided file with medium and fine grit is usually sufficient.
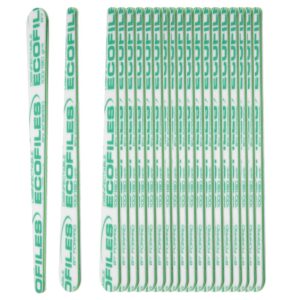 ForPro 100/180 Grit Nail Files Amazon$15
3. File in One Direction, From the Sides In
Using the coarser side of your file (around 180 grit), file from the outer corners toward the center using short, controlled strokes. This technique helps maintain shape and prevents splitting.
“You’re refining—not sawing,” Miss Pop explains. Excessive back-and-forth motion can weaken the nail edge and create micro-tears.
Rounded shapes like almond or oval benefit most from this method, says nail artist Rita Remark, as it helps avoid over-filing the center of the nail.
4. Refine With a Fine or Glass Nail File
Once your shape is set, switch to a finer grit (400–600) or a glass nail file to smooth edges and perfect the tip.
Glass files are especially effective for sealing the nail edge and minimizing splits. Kandalec also lightly buffs the nail surface with gentle strokes to smooth imperfections, which helps polish apply more evenly—especially metallic or chrome finishes.
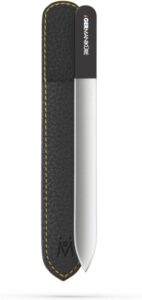 Germanikure Glass Nail File Amazon $16
 Tweezerman Glass Nailcare Set Amazon $27
5. Seal the Free EdgeAfter filing, tiny fragments can linger under the nail tip. These rough edges can snag and cause peeling if left behind.
To finish, gently buff upward along the underside of the nail using a soft buffer. This step helps seal the free edge and keeps nails smooth, polished, and snag-free.
 Maryton Nail Buffer Amazon 5$
Filing your nails correctly isn’t about speed or pressure—it’s about patience, precision, and the right tools. By trimming first, choosing the proper grit, filing gently from the sides inward, and sealing the edges, you can maintain strong, beautifully shaped nails between salon visits.
A few mindful strokes are all it takes to keep your nails looking fresh, healthy, and professionally groomed.